The Real Cost of Chasing Swells: A Waterman’s Guide to Budget Surf Travel
There is a distinct aroma that lives in the memory of every traveling surfer. It is a mix of melted coconut wax, damp neoprene, diesel exhaust from a local bus, and the sharp, clean scent of salt water drying on warm skin. For over two decades, I have chased that scent across six continents. I have slept on concrete floors in Central America, shared cramped camper vans in southwest France, and survived on nothing but instant noodles and local papayas just to wake up facing perfect, uncrowded reef breaks.
In my early years, I made every financial mistake in the book. I paid astronomical airline baggage fees, got ripped off by local boat captains, and spent my emergency cash on overpriced ding repairs. But those hard-learned lessons became my greatest asset. A budget surf isn’t about depriving yourself; it is about stripping away the non-essential fluff to focus entirely on the ocean’s energy. It is about trading luxury for authenticity. If you want to dive deeper into the logistics of planning your next adventure, be sure to check out The Ultimate Surf Travel Guide, which serves as our master blueprint for navigating the globe with a board bag.
True budget surf travel is an art form. It requires patience, adaptability, and a willingness to step outside your comfort zone. When you stop paying for resort packages and high-end surf charters, you open yourself up to the raw reality of the coast. You begin to understand the rhythm of the local tides, the habits of the local surfers, and the quiet magic of a sunrise session before the wind turns onshore. Let us break down the exact strategies I use to keep my bank account intact while keeping my soul fully saturated with brine.
Mastering Airline Board Fees and Smart Packing
The biggest financial hurdle of any surf trip happens before you even see the ocean. Airline board bag fees can easily double the cost of your plane ticket if you are not careful. In my twenty years of traveling, I have watched airlines change their policies like the tide, sometimes charging up to $150 each way for a single board bag. To beat them at their own game, you must become a master of logistics and a highly strategic packer.
First, always research airline baggage policies before you click “buy” on that cheap flight. Some airlines, like Singapore Airlines, Qantas, and Alaska Airlines, treat surfboards as standard checked baggage as long as they fall under certain weight and length limits. Others will charge you per board inside the bag. When I travel, I use a lightweight, heavy-duty double board bag. I never pack more than two boards; any more than that, and you risk triggering heavy-weight surcharges that will instantly wipe out your food budget surf for the week.
When packing your quiver, ditch the expensive foam nose-guards. Instead, use your wetsuits, towels, and apparel as protective armor. Wrap your rails in bubble wrap, slide your boards into soft surf socks, and then strategically pack your boardshorts, t-shirts, and hoodies around the nose and tail—the most vulnerable impact zones. I always pack my fins, wax, leash, and heavy metal hardware in my carry-on backpack. Not only does this reduce the weight of my board bag, but it also ensures that if the airline temporarily loses my boards, I still have my essential hardware ready when I find a rental.
The Golden Rules of Board Bag Packing
- Strip the Wax: Always scrape your boards clean before packing. A hot tarmac can melt wax all over your bag, ruining your board socks and adding unnecessary weight.
- Fins Off: Never, under any circumstances, leave your fins in your boards. One bad drop by a baggage handler will snap your fin boxes, resulting in an expensive repair job before you even wax up.
- The “Sports Equipment” Buffer: When checking in, remain polite and calm. If asked what is in the bag, state “sports equipment” rather than “surfboards.” For some reason, the word “surfboard” triggers dollar signs in the eyes of ticket agents, while “sports equipment” often glides under the radar.
Choosing the Right Budget Surf Accommodations
Where you lay your head at night dictates not only your budget surf but also your access to the lineup. When I was younger, I thought sleeping in a hammock on the beach was the ultimate budget surf move, until a tropical rainstorm and a swarm of hungry sandflies taught me otherwise. You need secure shelter to protect your expensive gear and ensure you get deep, restorative sleep after paddling for six hours straight.
Today, budget surfers have three primary options: surf hostels, sleeper vans, and local homestays. Each has its own set of advantages and compromises. To help you decide where to invest your hard-earned cash, I have broken down the pros and cons of each option below based on my personal travel experiences.
| Accommodation Type | Average Cost | Flexibility & Mobility | Gear Security | Social & Community Vibe |
|---|---|---|---|---|
| Surf Hostels | Low ($15 – $30/night) | Low (Fixed Location) | Moderate (Use Lockers) | High (Great for solo travelers) |
| Sleeper Vans | Medium ($50 – $90/night) | Extremely High (Chase the Swell) | High (If locked & alarmed) | Low to Moderate (Independent) |
| Local Homestays | Low to Medium ($20 – $40/night) | Low (Fixed Location) | Very High (Family protected) | High (Cultural immersion) |
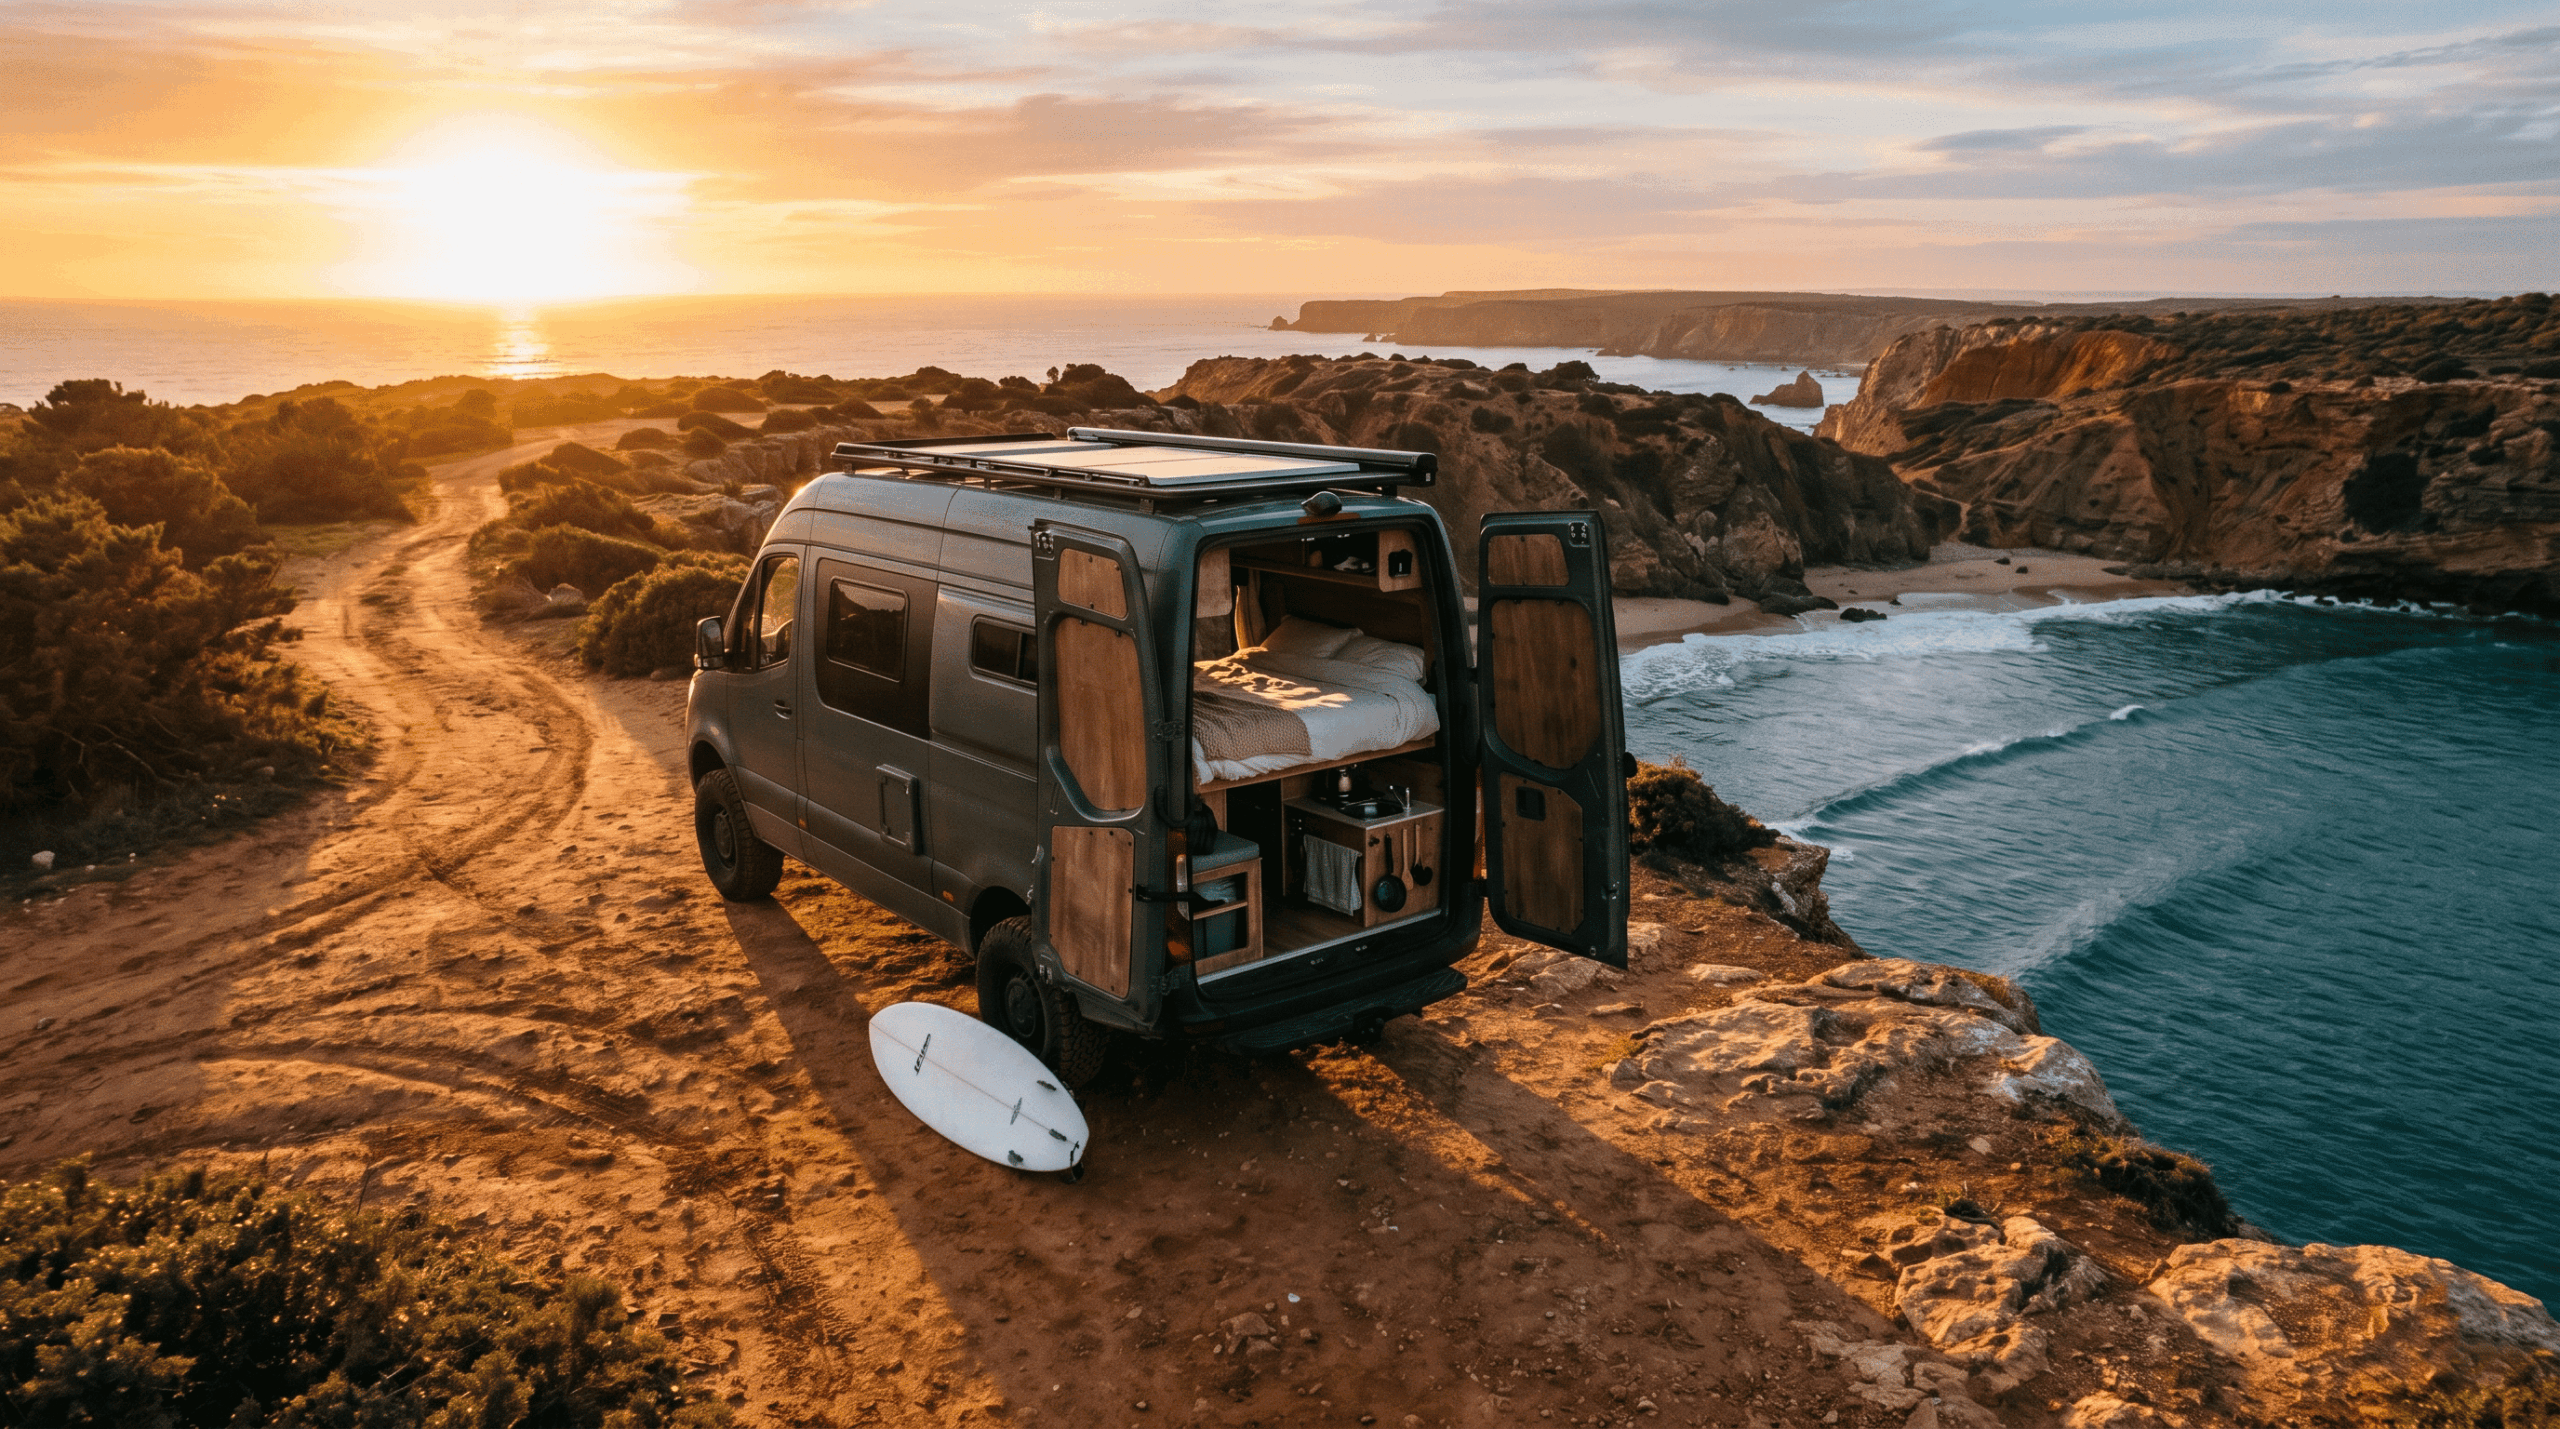
When I tested the sleeper-van setup along the rugged cliffs of Portugal, the freedom was unmatched. If the wind blew out one spot, I simply turned the key and drove thirty minutes south to a sheltered cove. However, if you are traveling to places like Indonesia or Central America, local homestays are absolute goldmines. Not only do you directly support the local community, but you also gain access to invaluable local knowledge. The family hosting you will often know exactly which tide works best for the reef break down the road, and they might even introduce you to a local boat captain who can take you to outer reefs for a fraction of the commercial price.
Eating and Living on a Shoestring in Coastal Towns
It is easy to burn through your cash by eating at trendy, tourist-facing cafes that serve $15 acai bowls and avocado toast. If you want to extend your trip from two weeks to two months, you must learn to eat like a local. In my experience, the best food in any surf town is found where the local fishermen and construction workers eat.
When I am stationed in a place like Oaxaca, Mexico, or Bali, Indonesia, my first stop is always the local municipal market. Here, you can buy fresh tropical fruits, vegetables, rice, eggs, and local seafood for pennies on the dollar. I always prioritize accommodations that feature a communal kitchen. Cooking your own breakfast and dinner is the single most effective way to cut your daily expenses in half. A simple post-surf meal of brown rice, black beans, fried eggs, and fresh avocado provides all the clean protein and healthy fats your muscles need to recover for the evening glass-off.
Furthermore, avoid buying alcohol at bars and tourist clubs. The cost of a few cocktails at a beach club can easily equal your entire accommodation budget for the next three days. If you want to enjoy a cold beer as the sun dips below the horizon, buy a six-pack from a local convenience store, sit on the sand with the locals, and enjoy the free light show provided by the ocean.
DIY Surf Gear Maintenance and Ding Repair
Nothing cuts a budget surf trip short faster than a creaked board or a shattered fin box. If you rely on local ding repair shops, you will not only lose valuable time out of the water, but you will also pay premium prices because they know you are desperate to get back out there. Every budget surf must carry a compact, high-quality ding repair kit and know how to use it.
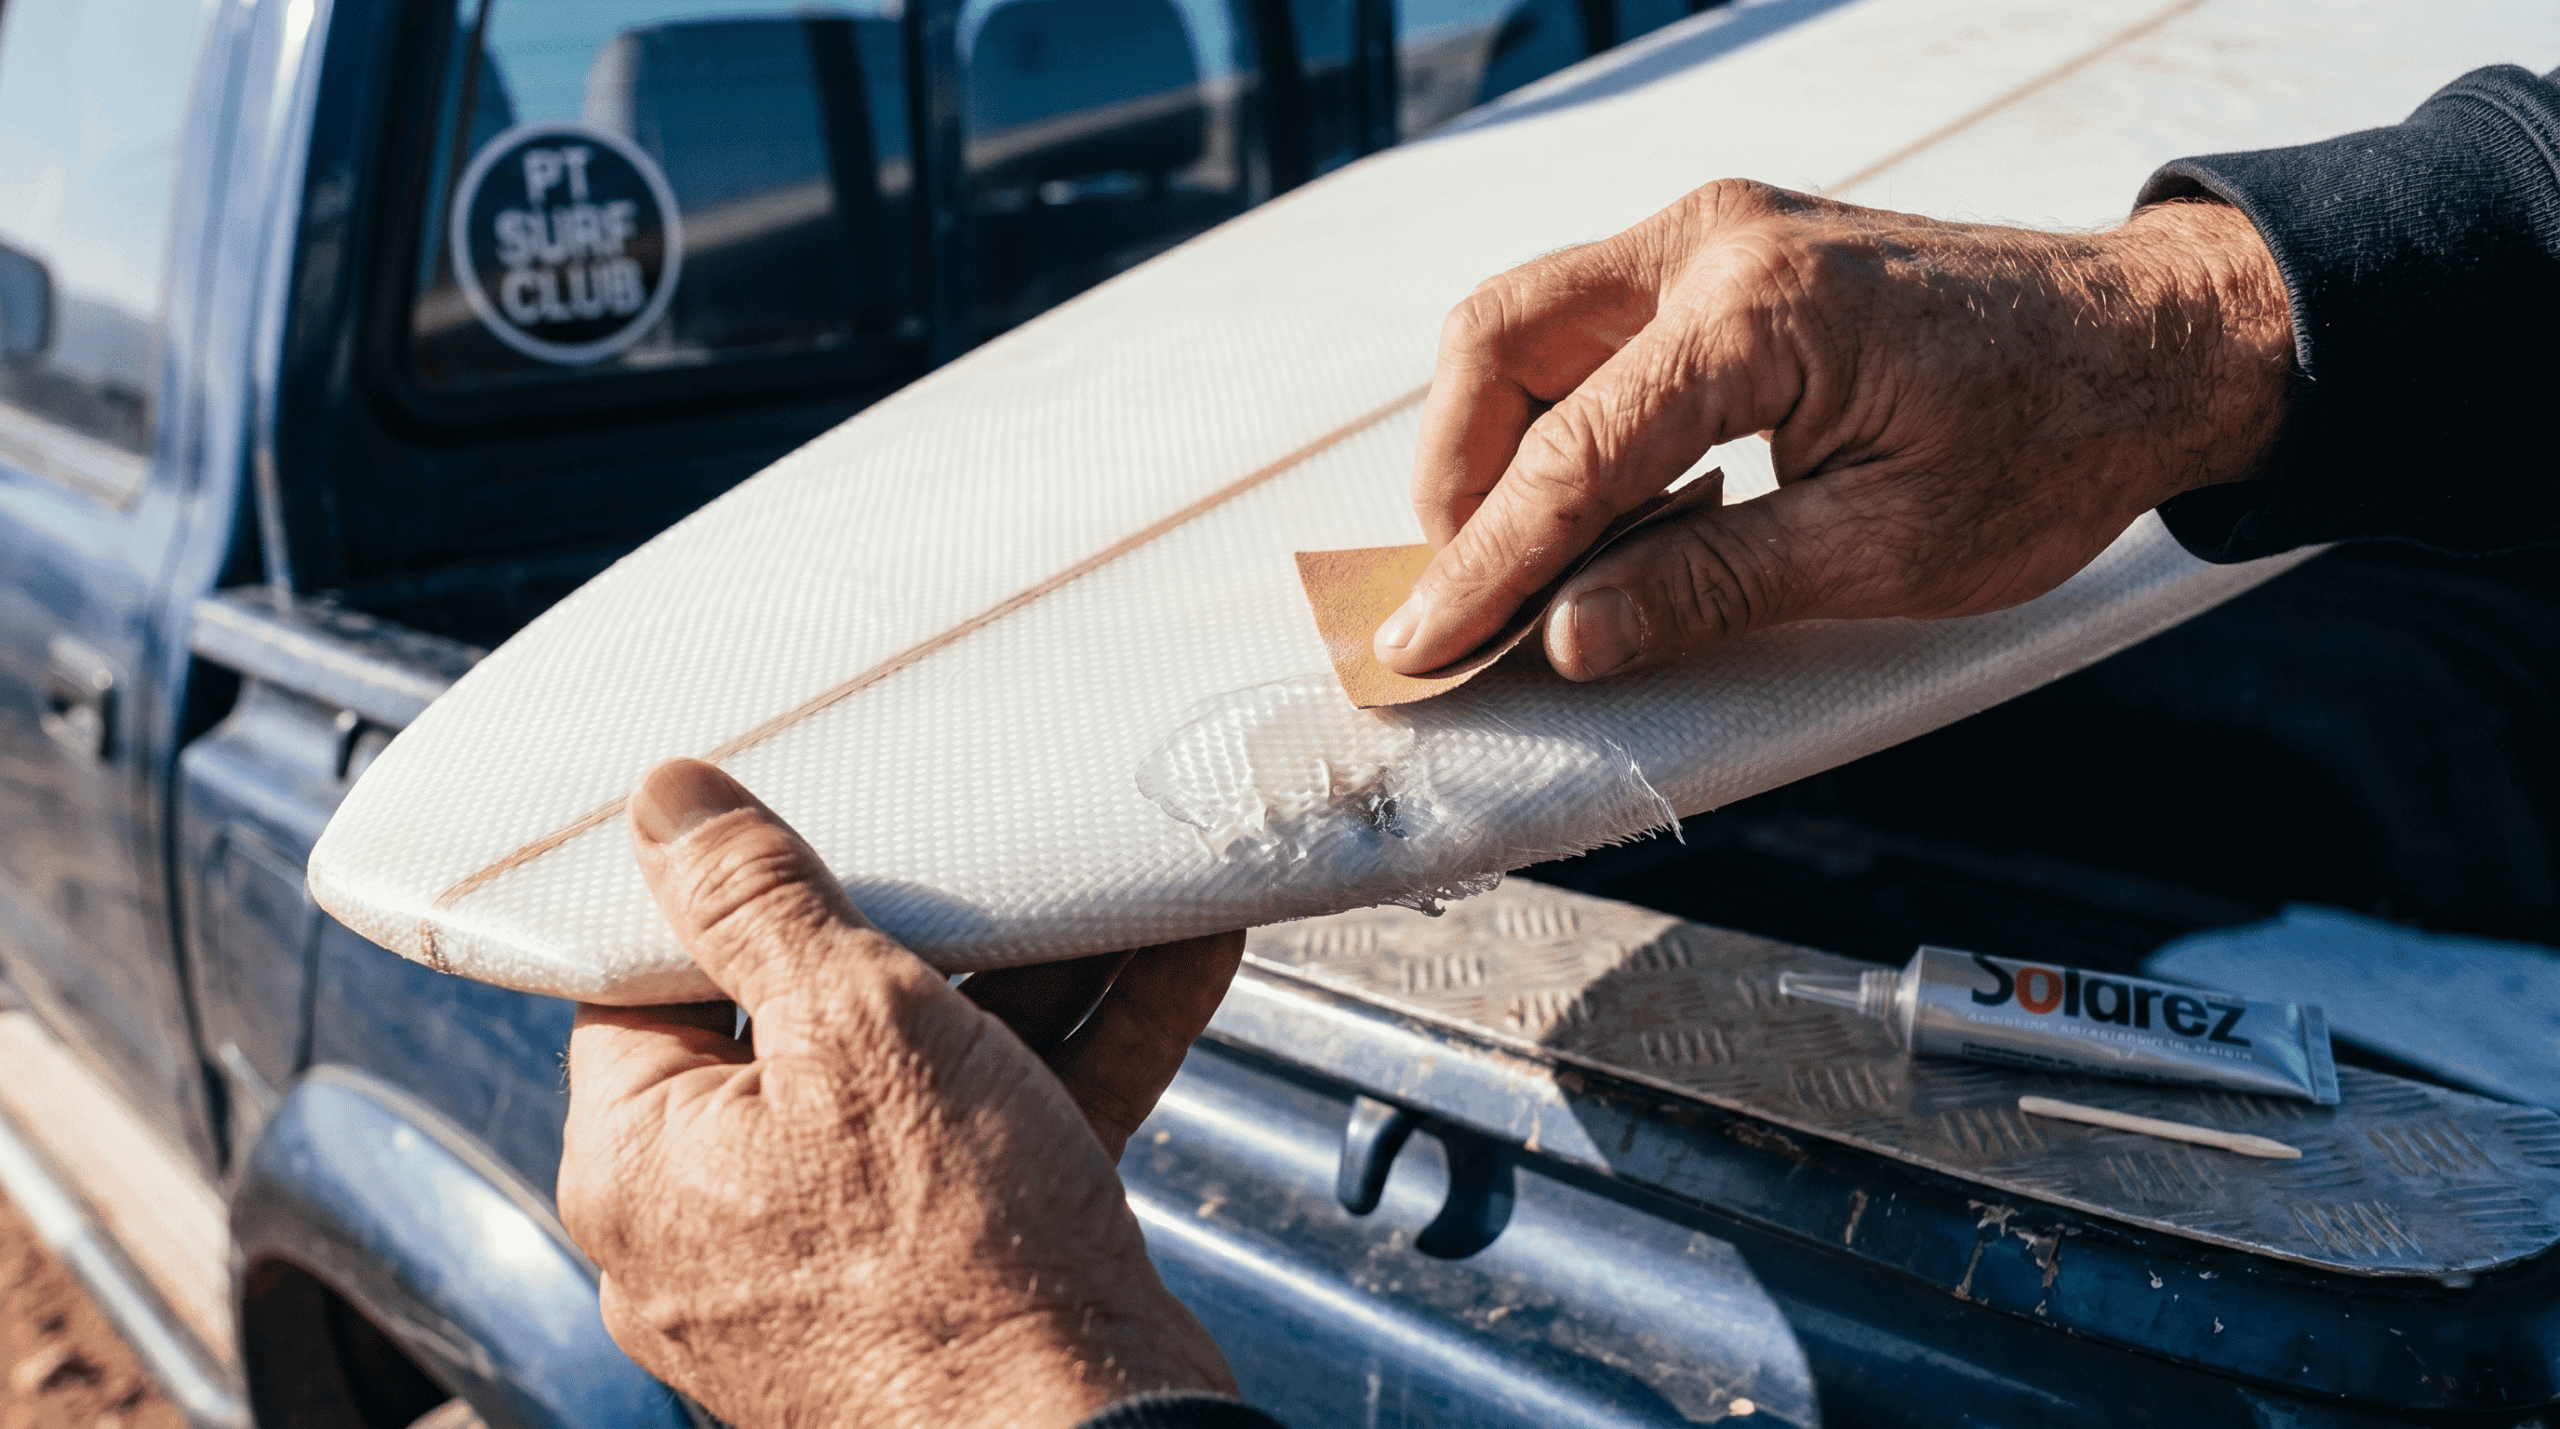
In my travel kit, I always pack a tube of specialized UV-activation resin from industry benchmarks like Solarez (carrying both epoxy and polyester, as epoxy resin can be used on any board, but polyester resin will melt EPS foam), alongside sandpaper of varying grits, fiberglass mesh patches, a roll of heavy-duty duct tape, and a spare set of grubscrews.
Instead of panic-selling the board or paying a premium at a shop, I dried the board thoroughly in the shade, sanded the wound, applied a piece of fiberglass cloth saturated in solar-cure resin, and exposed it to the midday sun. Within fifteen minutes, the resin was rock hard, and I was back in the water for the afternoon swell.
Additionally, take care of your gear to prevent costly replacements. Rinse your wetsuits and leashes in fresh water whenever possible; salt crystals will dry out neoprene and weaken urethane, leading to snapped leashes and torn seams. Never leave your surfboards baking in the hot sun inside a car; the heat will cause the foam to off-gas, leading to delamination—a death sentence for any board.
Navigating Lineup Etiquette and Localism
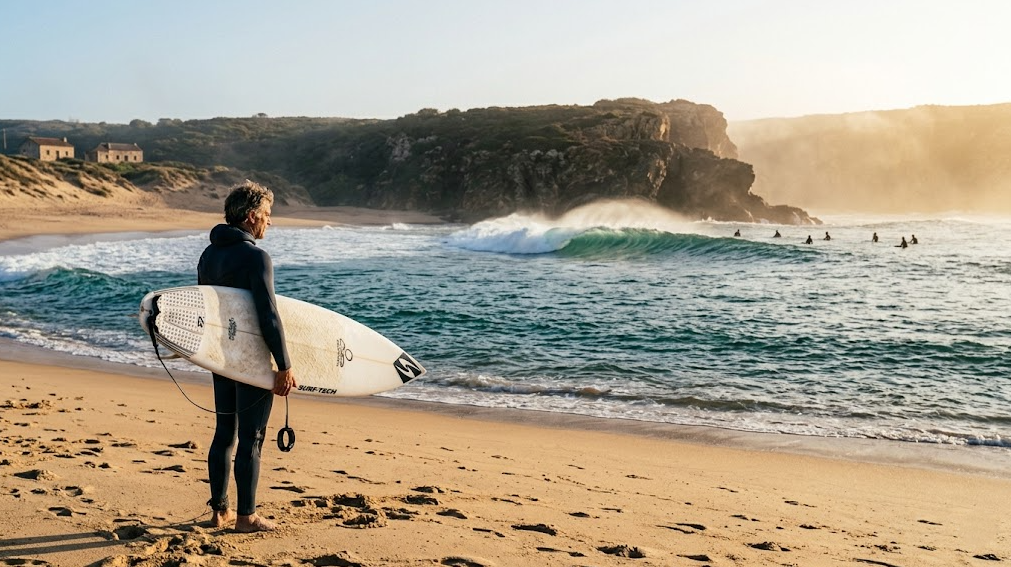
The final, and perhaps most important, budget surf tip has nothing to do with money and everything to do with respect. When you travel on a budget surf, you are often surfing easily accessible beach breaks and point breaks rather than remote, boat-access-only waves. These spots are frequently crowded, and tension can run high in the lineup.
Localism is a natural defense mechanism for coastal communities protecting their limited resources. If you paddle out with a loud, aggressive attitude, dropping in on waves and ignoring the established lineup order, you will quickly find yourself back on the beach with a dinged board or worse. When you arrive at a new spot, take at least fifteen minutes to sit on the beach and watch. Observe where the key take-off zone is, who the dominant local surfers are, and how the crowd moves with the sweep of the current.
When you paddle out, do so with humility. Smile, greet the people closest to you, and wait your turn at the shoulder. Do not immediately paddle to the inside of the pack. By showing respect and letting a few good waves go to the locals, you build trust. In my experience, a polite attitude and a friendly nod will often result in a local surfer waving you into the wave of the day—a priceless experience that no amount of money can buy.
Frequently Asked Questions
What is the absolute cheapest surf destination in the world?
While prices fluctuate, Central America (specifically Nicaragua and El Salvador) and Southeast Asia (Indonesia, particularly outside of main tourist hubs in Bali, like Krui or Lakey Peak) remain the most budget surf-friendly surf destinations. In these regions, you can easily live, eat, and surf for under $30 to $40 a day.
Can I travel with a longboard on a budget surf?
Traveling with a longboard (9’0″ and above) on a budget surf is extremely challenging. Many airlines charge massive oversize fees for bags over 8’0″, and some domestic airlines or regional buses will refuse them entirely. If you are a dedicated longboarder, it is often cheaper and less stressful to rent a board locally or buy a used one upon arrival and sell it back before you fly home.
Is travel insurance necessary for a budget surf trip?
Yes, travel insurance is non-negotiable. An unexpected encounter with a shallow reef or a collision with a loose board can result in thousands of dollars in medical bills or emergency evacuation costs. Spending $50 on a basic travel insurance policy that covers adventure sports is a minor expense that can save you from financial ruin.
How do I find cheap rental cars for surf trips?
Avoid renting from major airport counters, which add hefty concession fees. Instead, look for local, off-airport rental agencies, or consider utilizing local public transport. In many places, local buses or converted utility trucks (like the *camionetas* in Latin America) will gladly throw your board bag on the roof rack for a couple of dollars.
What should I do if my surfboard is damaged by an airline?
Inspect your boards immediately upon retrieval at the baggage claim. If you spot any fresh dings, cracks, or broken fin boxes, go directly to the airline’s baggage service office before leaving the airport. Document the damage with photos, file a formal property irregularity report, and demand compensation. Most airlines are legally obligated to cover baggage damage, but only if you file the claim before passing through customs.